For the best use of your applique fabric print out your template and line it up in your hoop so you will know how much fabric you need to put in place.
 Put your fabric down with a bit of temporary spray adhesive. Then run the first step of the design
 On this particular design there are is a second layer of applique so after the first step you will lay on the "earth" part and then run that step.
 After any inner parts of the the design have been secured it will then be time to trim them step by step.. No need to get super close when trimming since you want that frayed look to the edges.
Run all of the rest of the detail and thread changes

After it's all done you will want to trim out your main fabric... remember.. not to close!

Now.. time to ruff things up a bit! Take your fingernail or a bone folder and scruff up the edge fabric so it begins to fray. Trim any overly long threads that occur. (ohhhh.. looks like somebody could use a good manicure!)

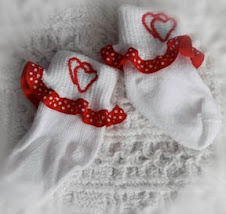
If using the design as a patch then trim UNDER the fringe edge and give it a firm pressing.


2 comments:
I really like the threadbare style. I think it would be great to use for vintage style patches.
C.
Love your blog and even visited the website! You are on your way---again! :-)
Looking forward to seeing you at the AEC in 2010!
Post a Comment